A real talk before the list, curly pixies fail or succeed at the consultation, not the chair. Most stylists trained on straight hair will cut your curls wet and stretched, which is how you end up with a shape that looks nothing like what you saw on Pinterest. Ask specifically whether they cut curls dry, curl by curl. If the answer is no, keep looking. The right cut for your texture takes longer and costs more, but it grows out beautifully instead of turning into a triangle by week three.
What follows are twenty-two versions of the curly pixie worth bringing to that consultation. Some lean tight and sculpted, some lean soft and undone. Your curl pattern matters more than your face shape here, so know whether you're a 2C, 3A, 3B, 3C, or 4A before you book. The same cut reads completely differently across textures, and a good stylist will adjust the approach accordingly.
22 Curly Pixie Hairstyles
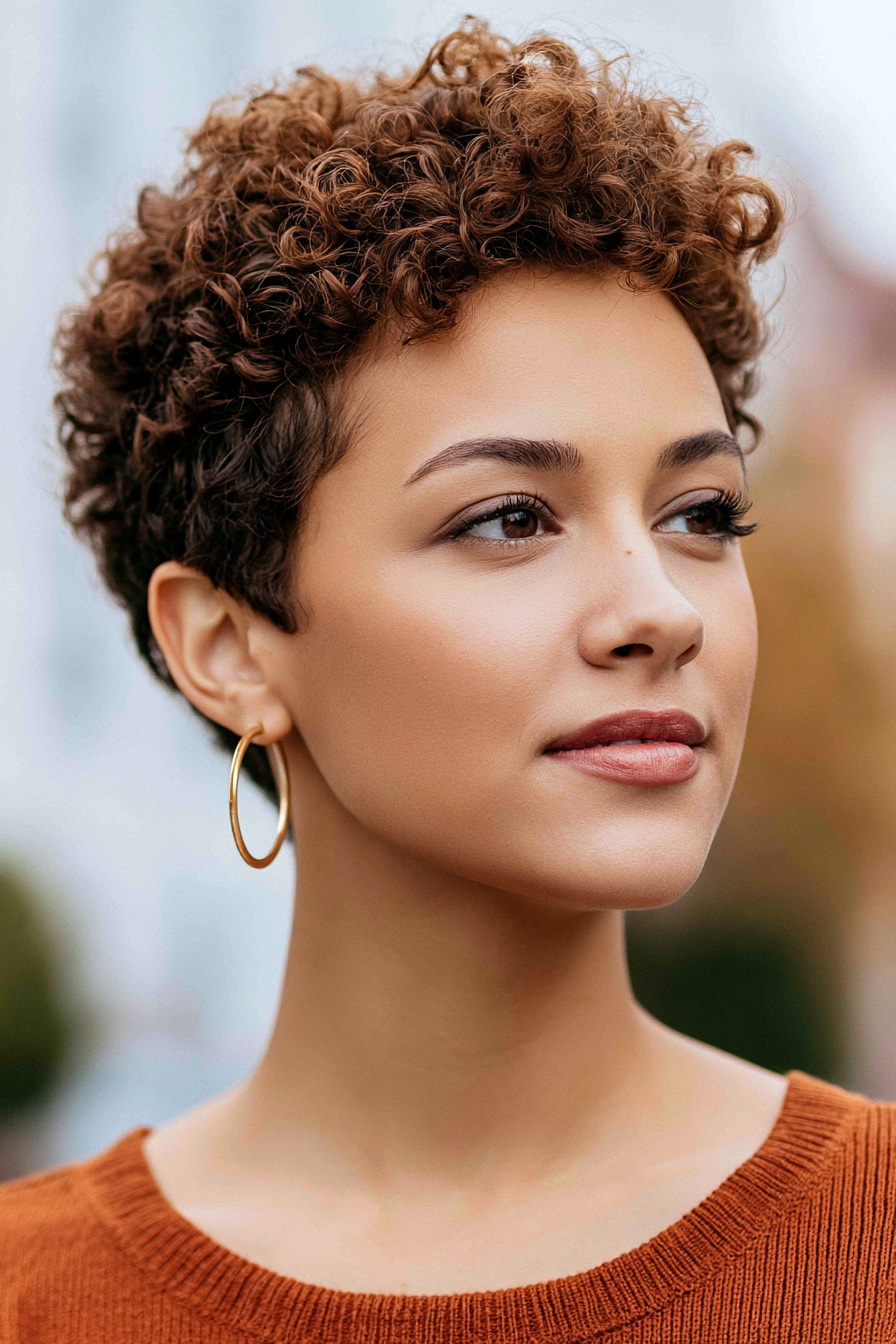
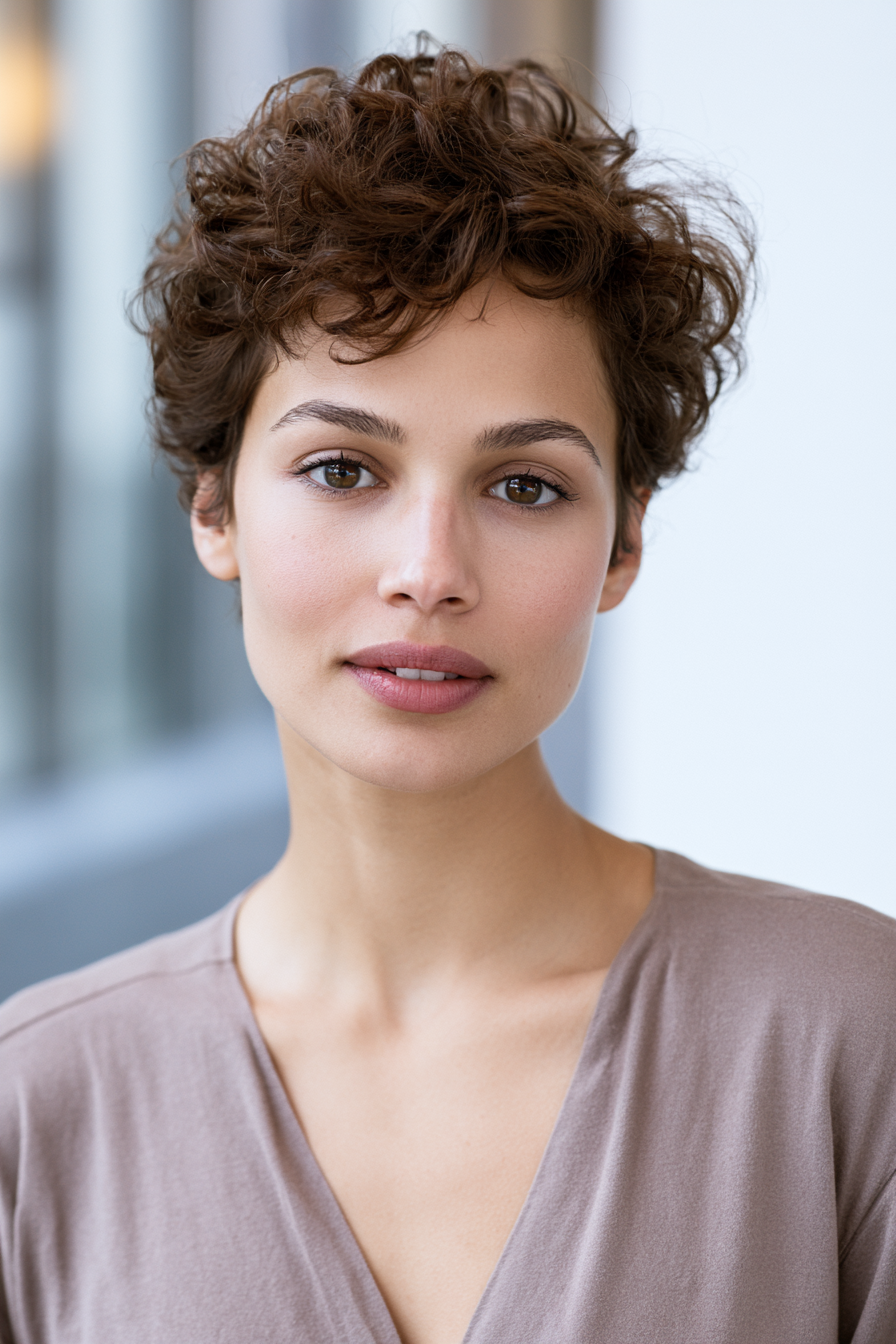
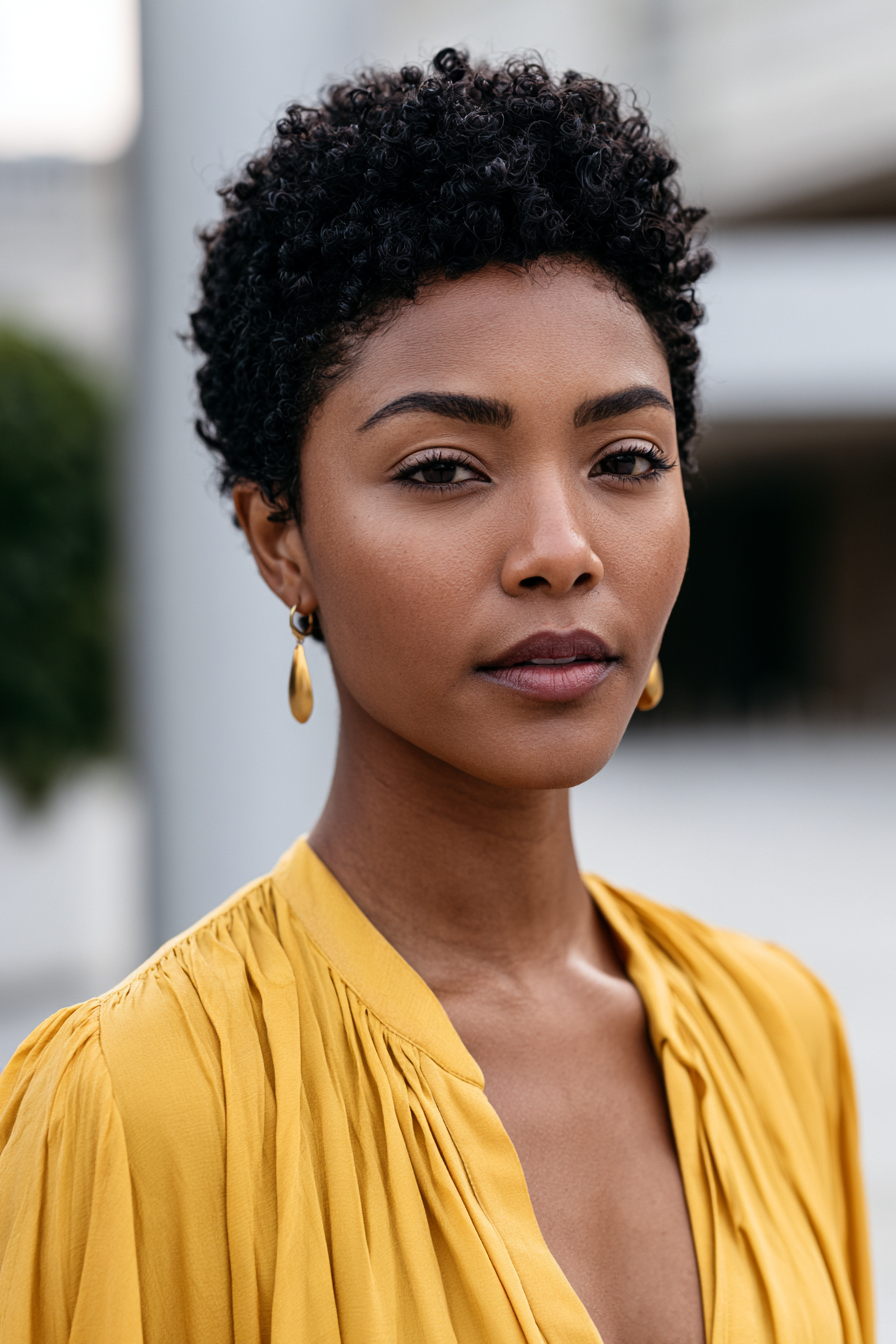
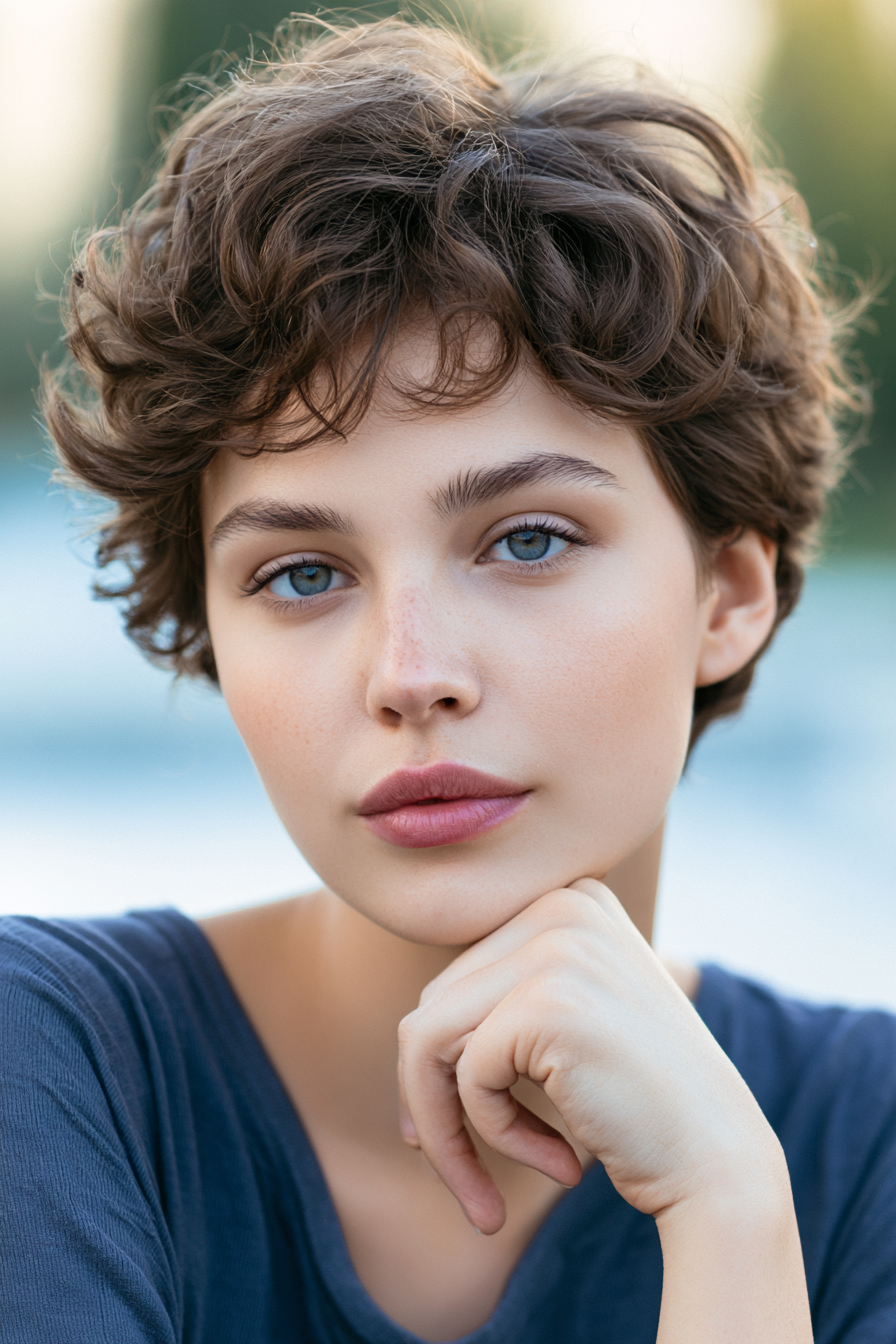
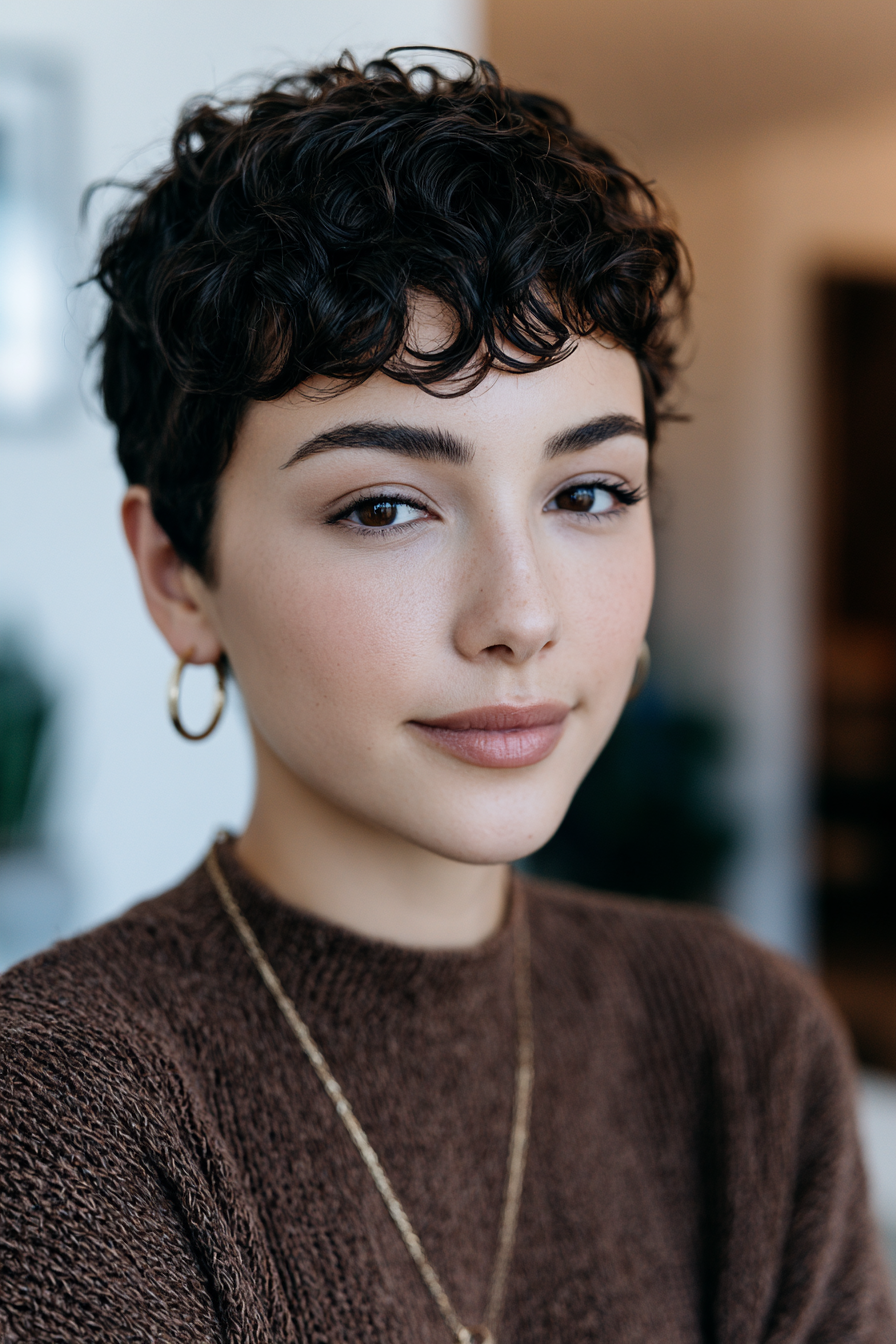
Classic Curly Pixie

The starting point for everything else. Cut short all over with the curl pattern fully visible, no longer than two inches anywhere.
Ask your stylist to cut each curl dry, following its natural spring rather than fighting it.
A small amount of Bounce Curl Light Hold Creme Gel scrunched into damp hair locks the shape without crunch.
Air-dry, scrunch the cast out, and the cut takes care of itself. The whole appeal is letting the curls do what they already want to.
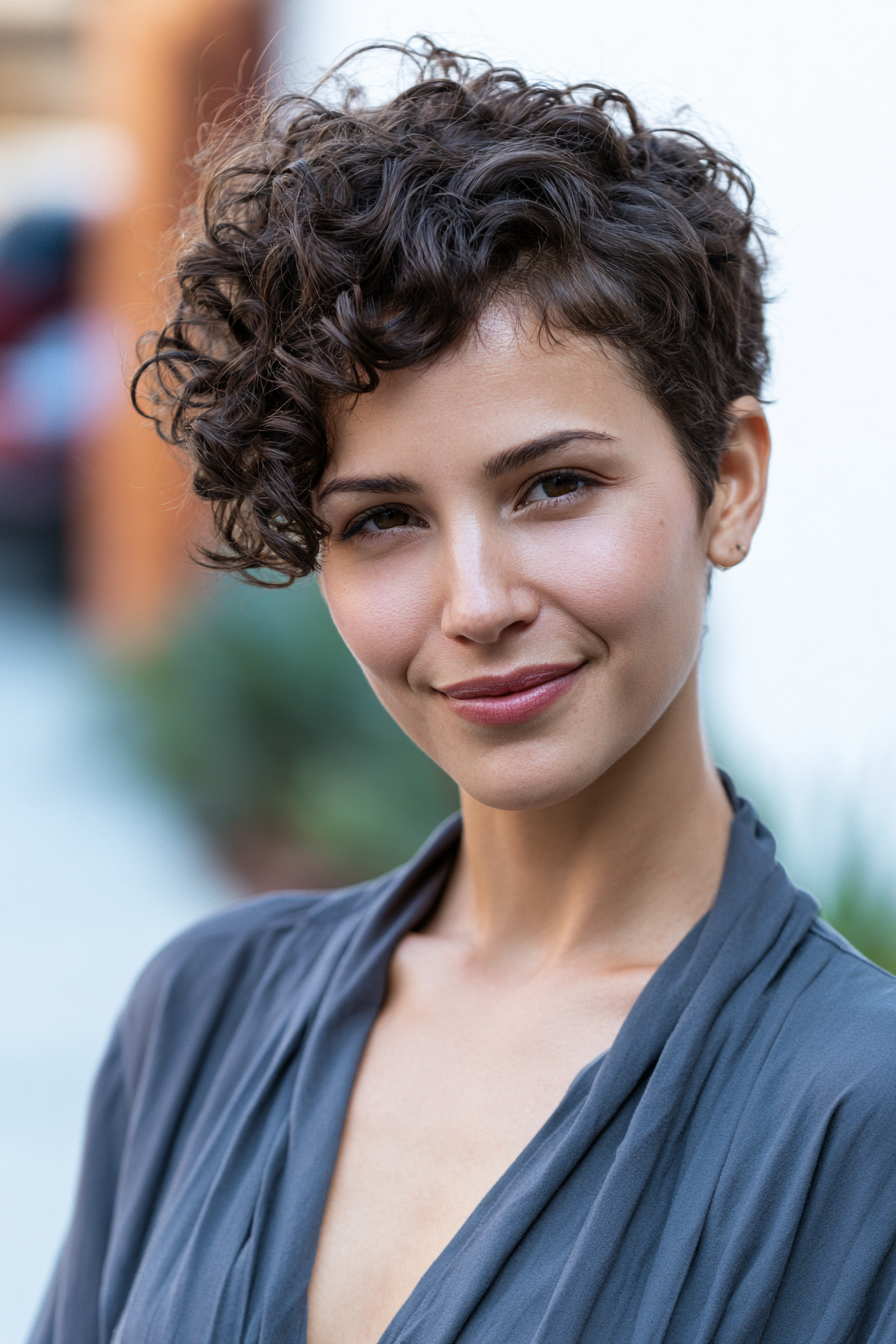
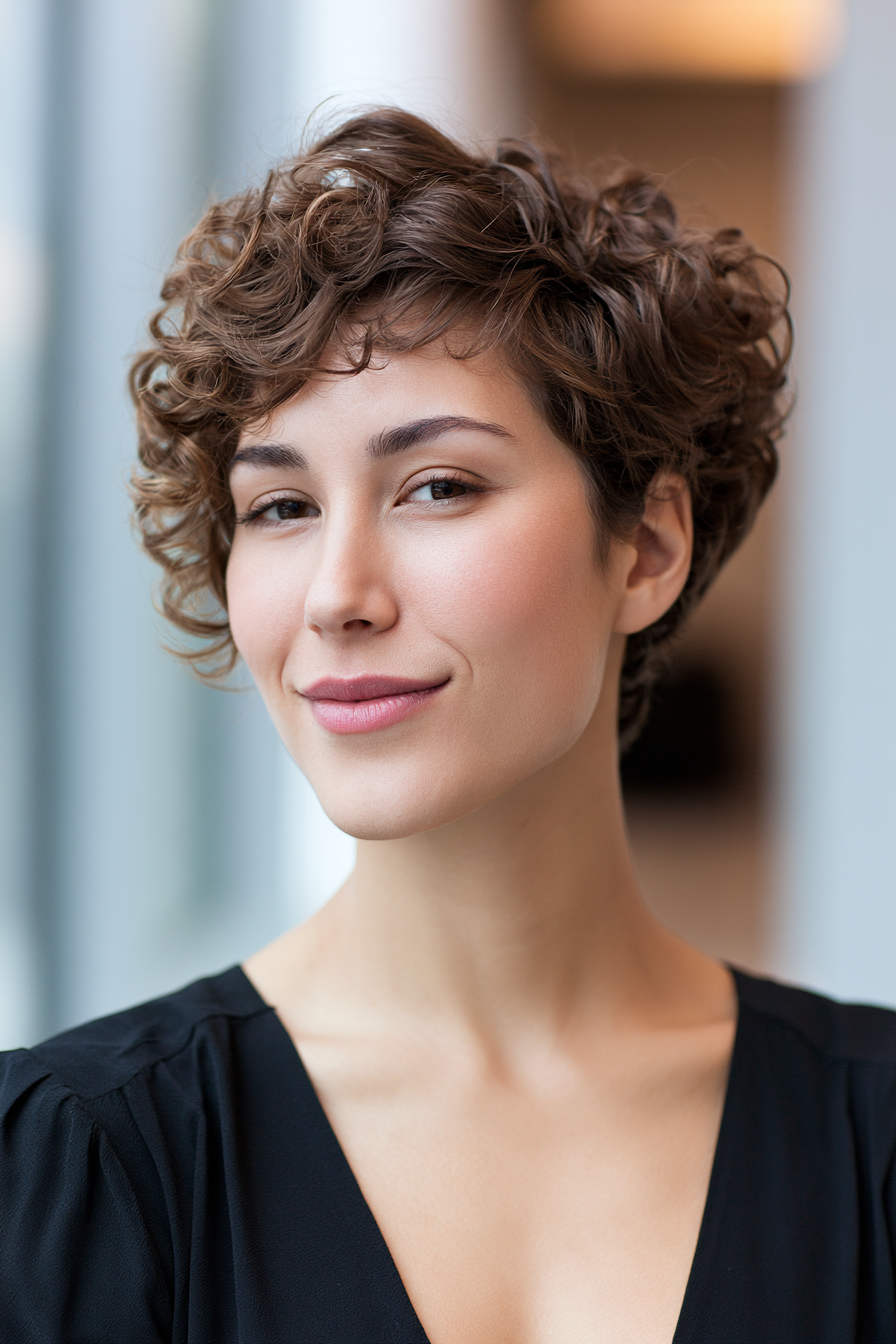
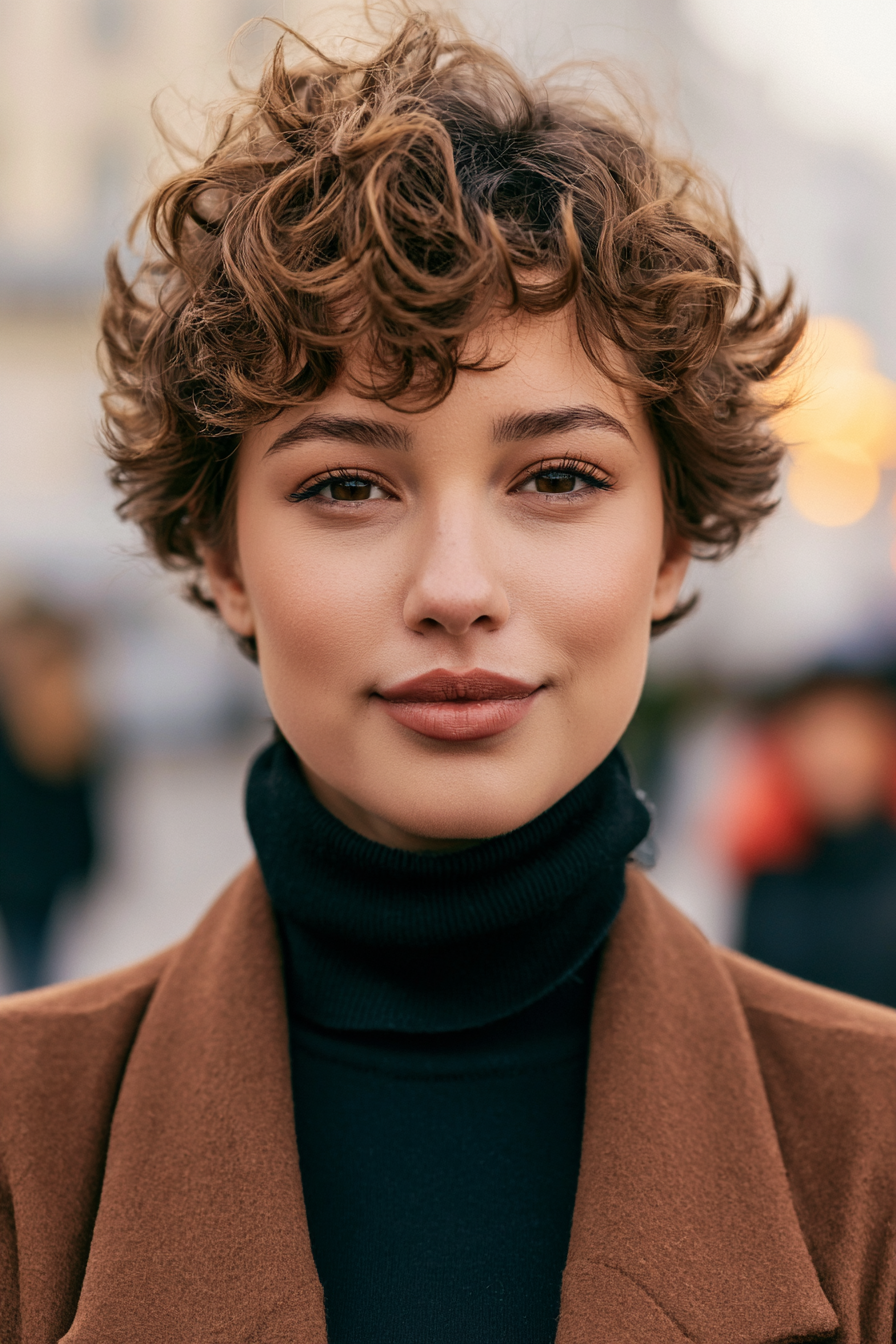
Tapered Curly Pixie
Shorter at the nape and around the ears, with the top kept fuller for curl definition.
The taper should be cut with shears, not clippers, to keep the texture intact.
Tell your stylist you want a soft graduation, not a sharp fade. This version frames the face beautifully and works particularly well on 3B and 3C curls.
It also grows out without needing a panicked appointment six weeks in, which makes it the most practical curly pixie variation.
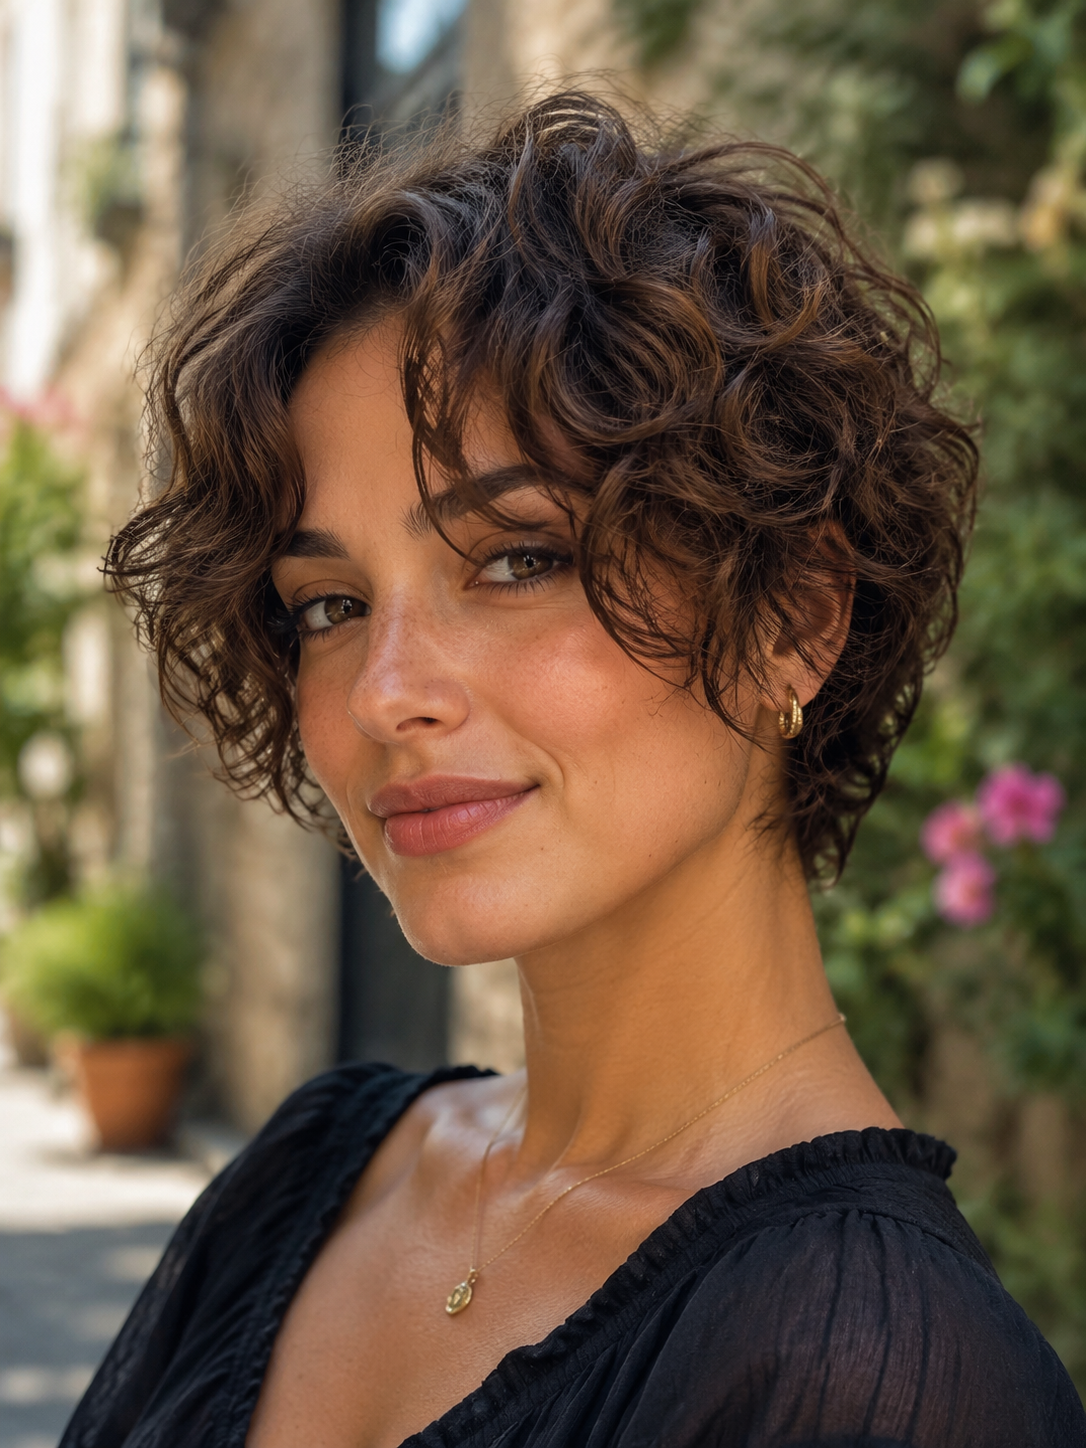
Curly Pixie With Side-Swept Bangs
The front sections are left longer to fall across the forehead in a soft sweep.
Ask for the bangs to start at the corner of the eyebrow and angle down toward the cheekbone.
Use a curl-defining cream like Innersense I Create Volume on the front pieces specifically, then pin them aside while the rest dries.
This adds softness around the eyes without committing to a full fringe that often fights curl direction.
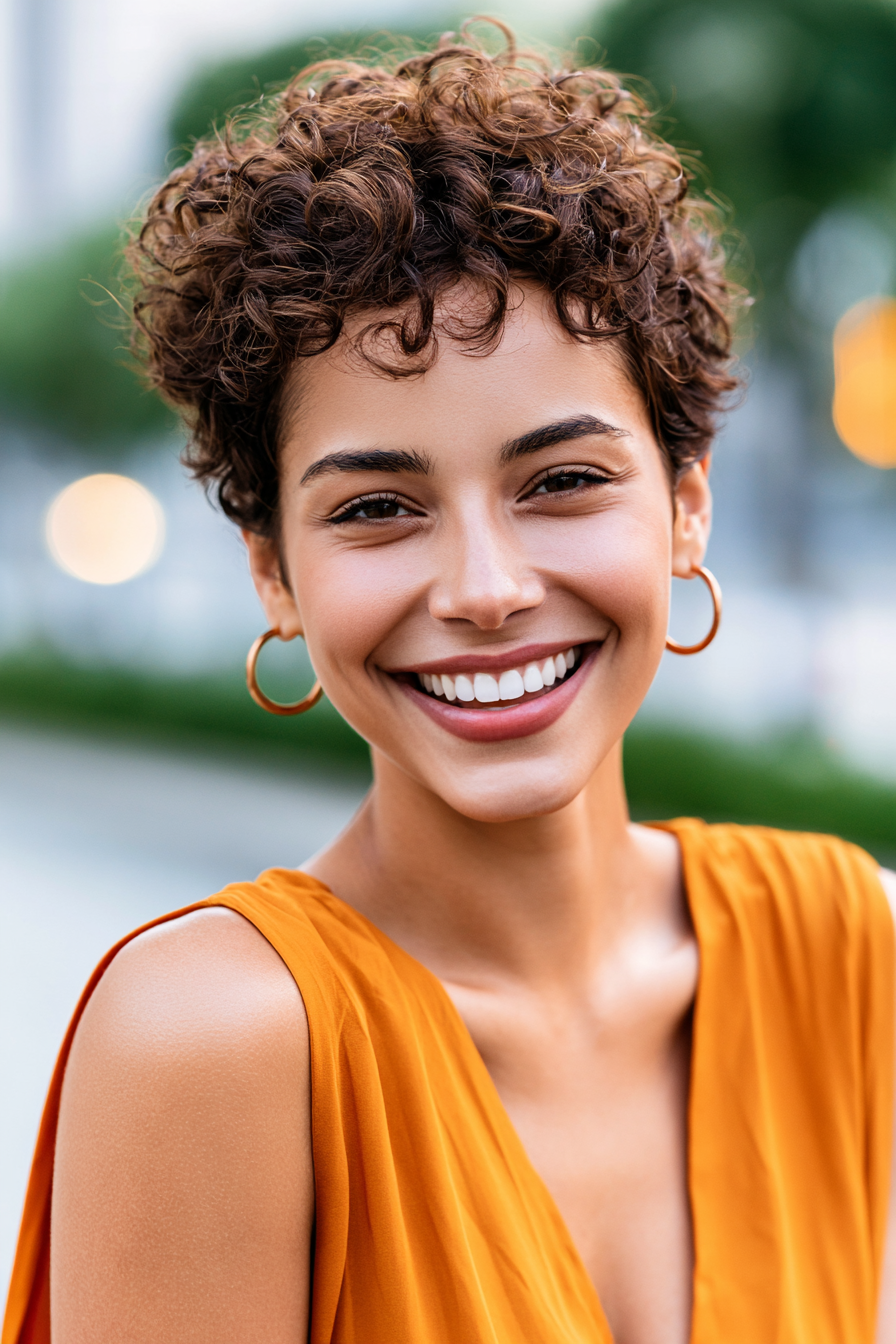
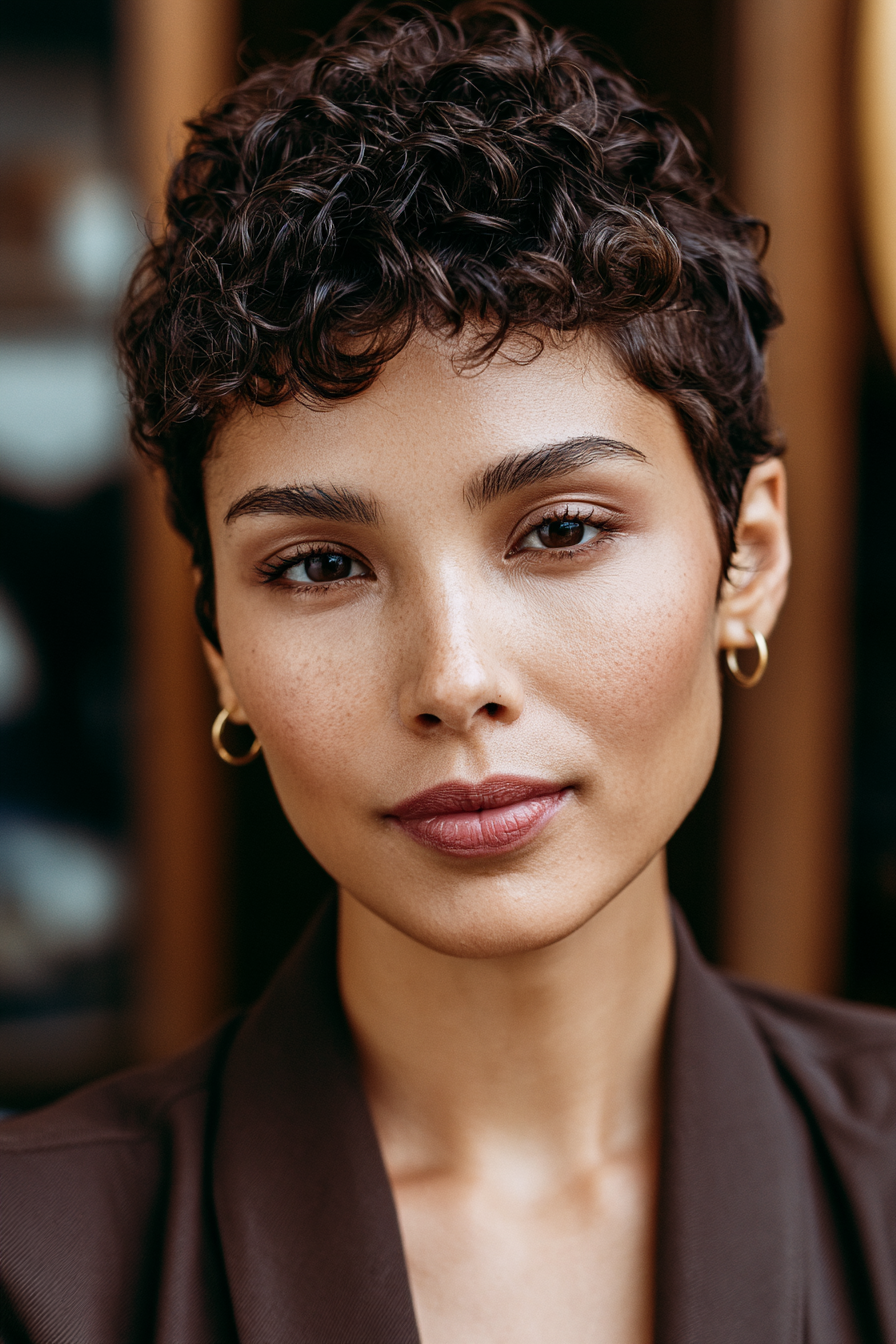
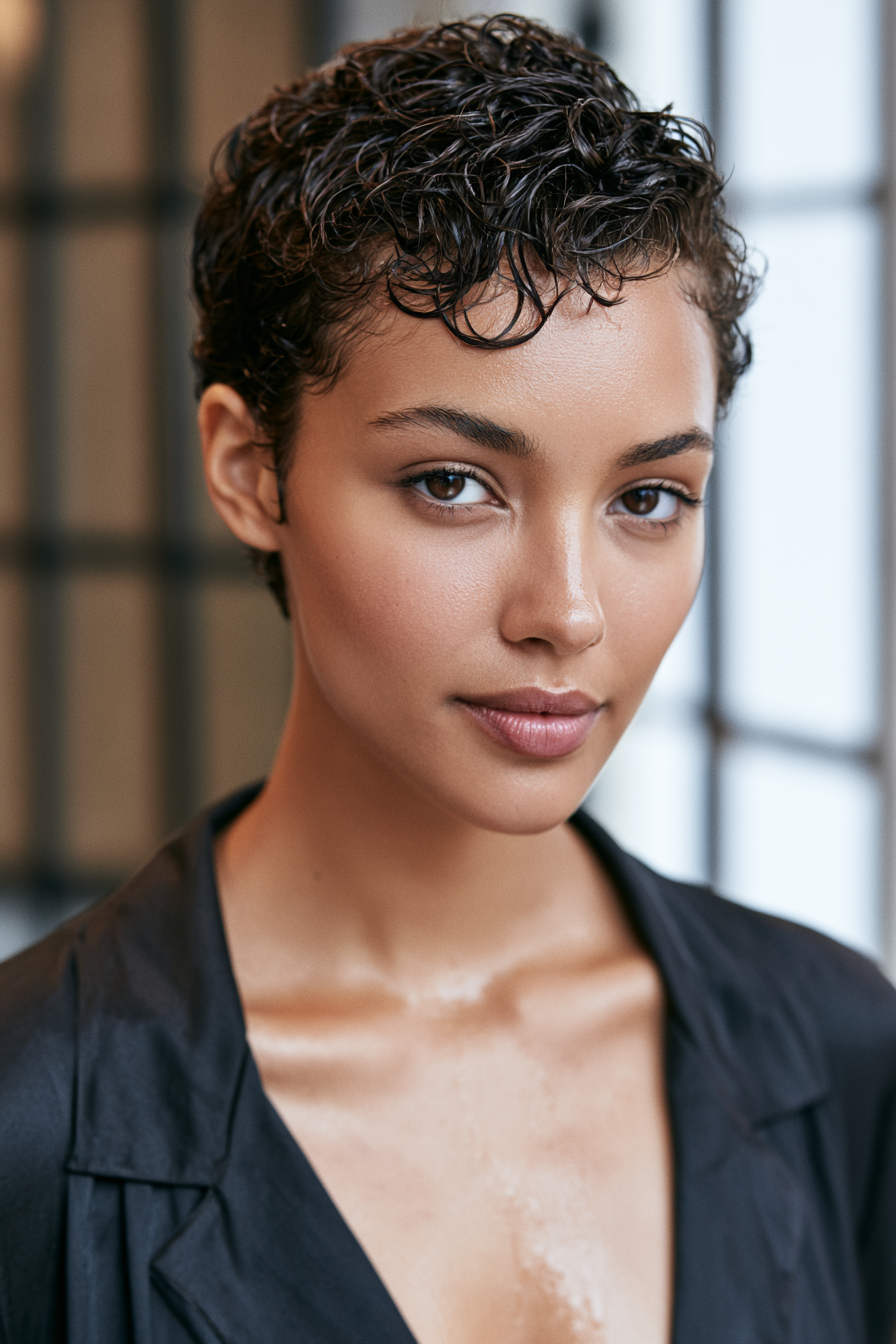
Cropped Curly Pixie
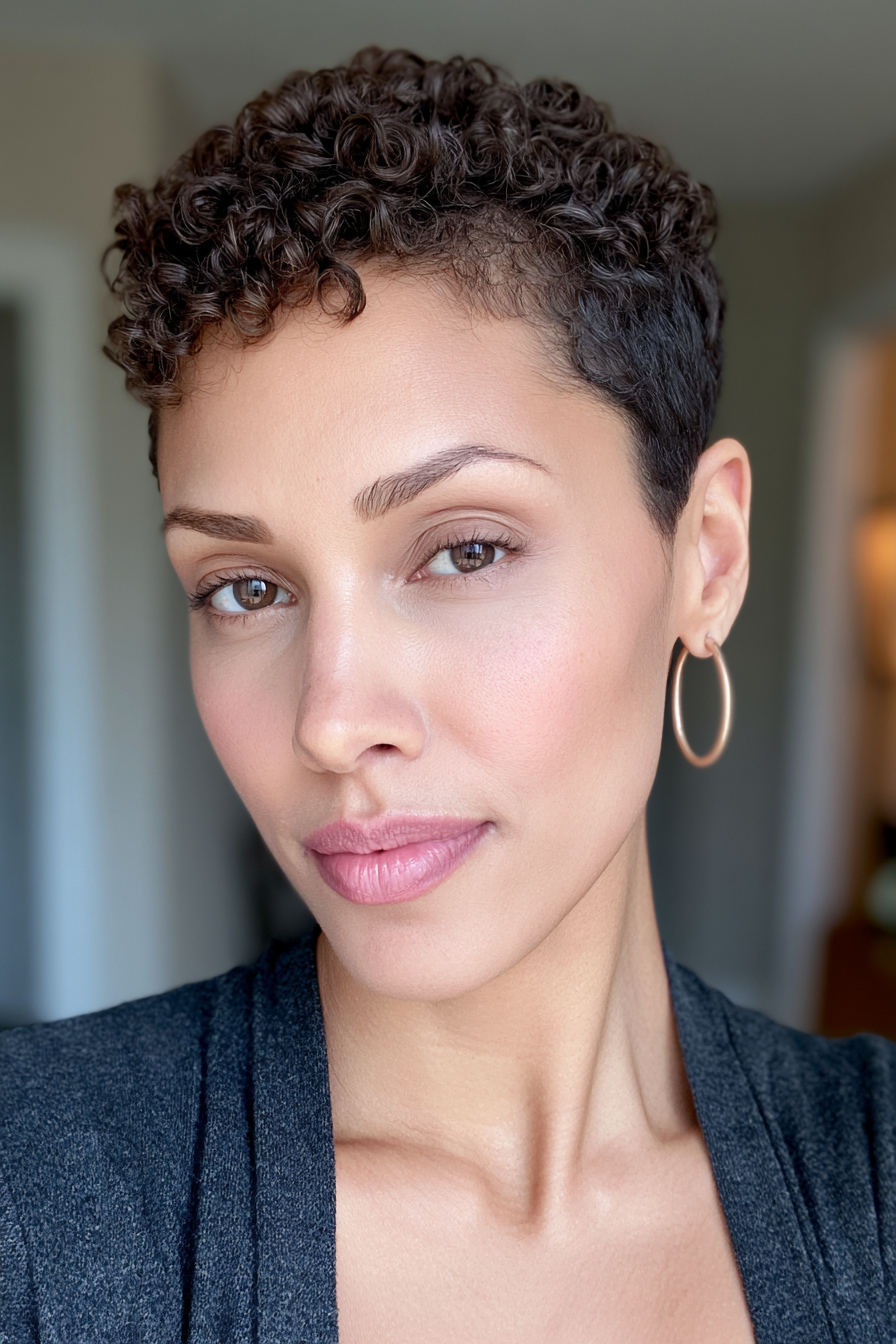
Very short, sitting close to the head, with curls compressed into a sculpted shape.
This works best on tight 3C and 4A textures where the curl pattern holds its own.
The cut requires a trim every four weeks, otherwise it loses the silhouette quickly. A finger-coiled finish on damp hair gives the cleanest definition.
This is the version that looks intentional in a meeting and undone at a dinner, without changing anything.
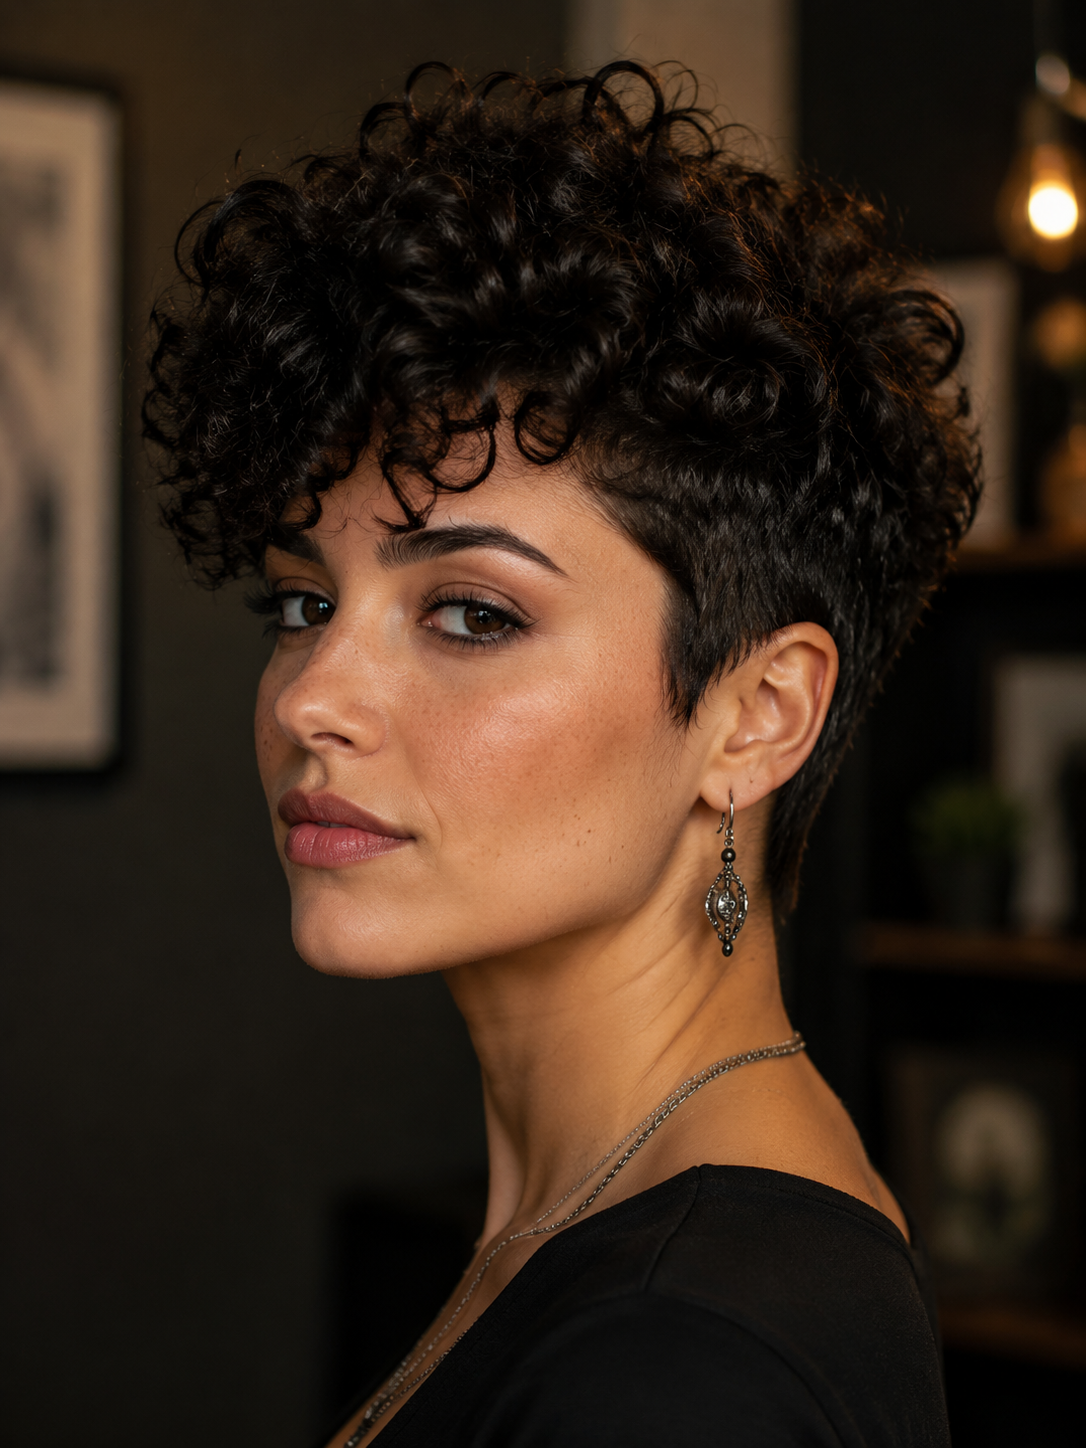
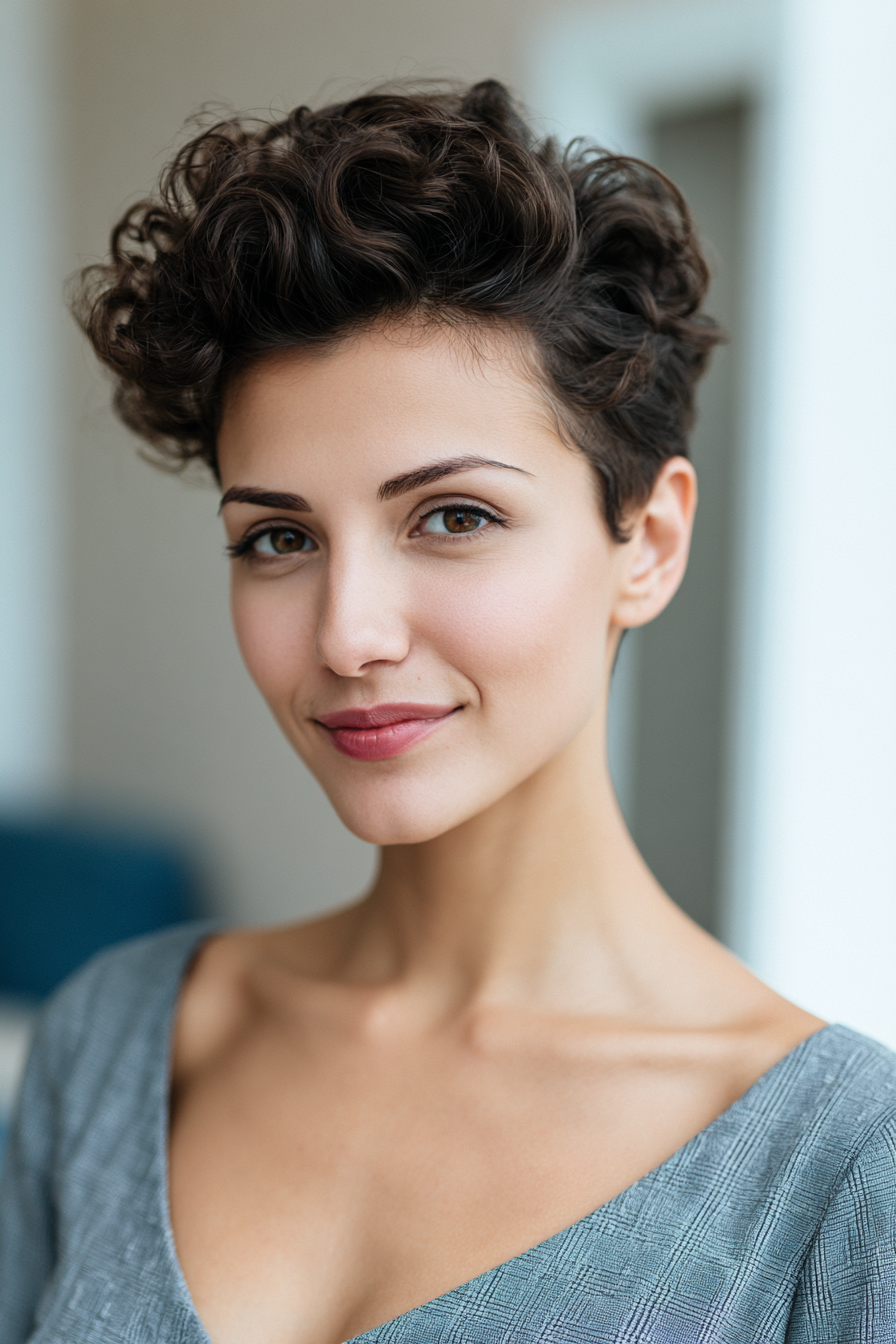
Curly Pixie With Undercut
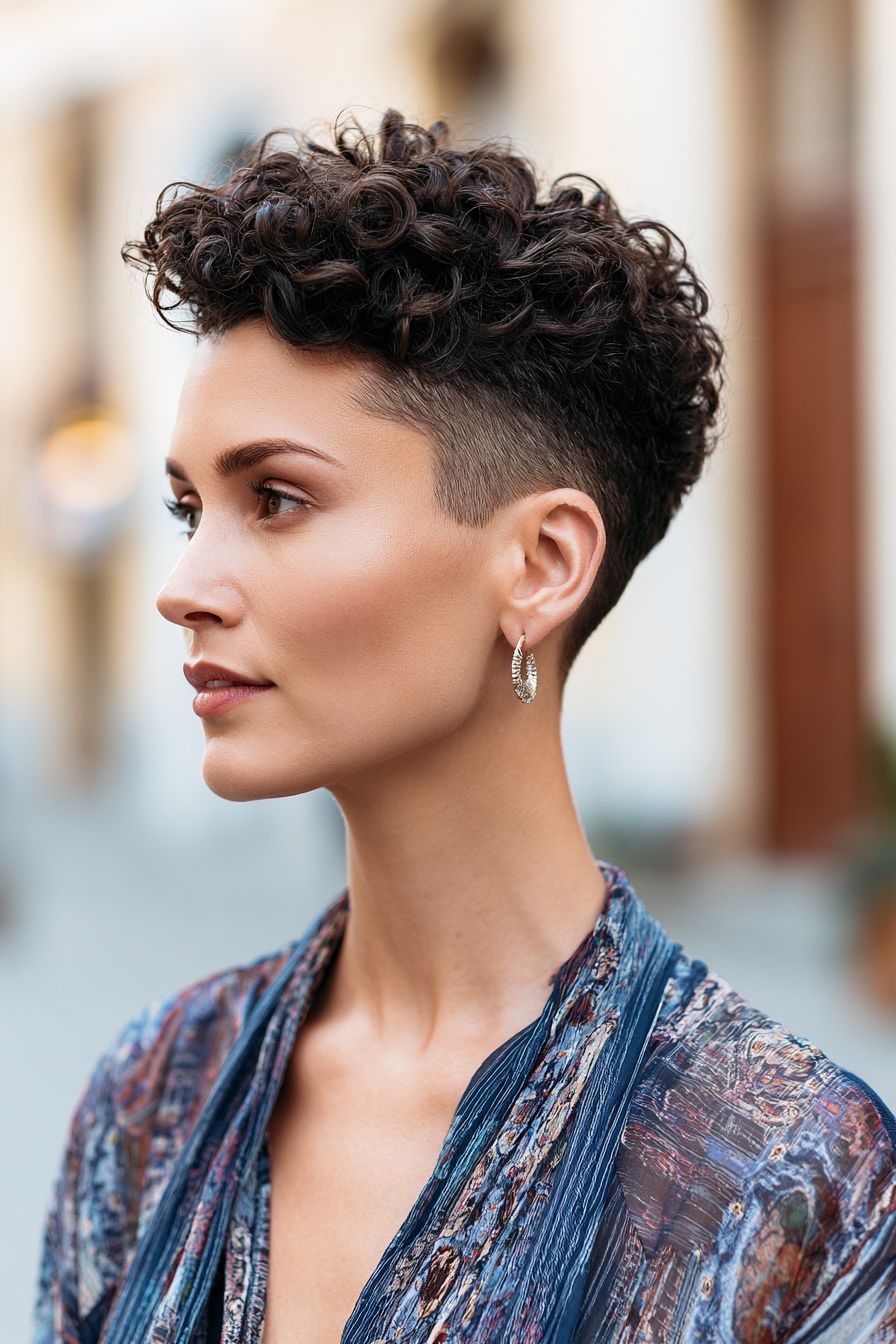
The sides and back are shaved short, with the top left long enough to show full curl.
Ask for the undercut to stop at the temple, not above, otherwise the proportion gets cartoonish. Style the top with a leave-in like Aunt Jackie's Curl La La and let it air-dry.
This version is bold without being aggressive, and it's surprisingly low maintenance once the initial shape is established. Reshape the undercut every three weeks.
Curly Pixie With Curtain Bangs
Soft bangs that part down the middle and frame the face, cut to follow your curl pattern rather than straightened against it.
The shortest point should hit at the cheekbone after the curl springs up.
Most stylists cut these too short on curly hair, forgetting the shrinkage factor. Tell yours to cut them an inch longer than they think.
Scrunch a tiny amount of Cantu Coconut Curling Cream through just the bangs.
Volume-Up Curly Pixie
For finer curl patterns, this version keeps length at the crown to maximize lift.
Ask for layers cut into the top section while the perimeter stays short.
Diffuse upside down with a Devacurl SuperCream worked through damp roots first. The result is height without bulk, which fine curls usually struggle to achieve.
This works particularly well on 2C and 3A textures where flatness at the crown is the most common complaint.
Asymmetrical Curly Pixie
One side cut shorter than the other by about an inch, with the longer side sweeping across the forehead.
The asymmetry should be visible but not dramatic. This works beautifully on 3A and 3B curls where the longer side falls into a defined ringlet.
Style by raking a leave-in through wet hair, then plopping into a microfiber towel for ten minutes.
The shape sets itself with very little intervention from you.
Curly Pixie With Disconnected Top
The top is left significantly longer than the sides, creating a clear visual break between sections.
Think of it as a curly mohawk silhouette, softened around the edges.
Ask for the disconnection at the parietal ridge, where the head curves. This suits anyone wanting a curly cut with edge without going full undercut.
Style with a curl gel cocktailed with a drop of oil to keep definition without that gel-cast crunch.
Tightly Coiled Pixie
Designed for 4A through 4C textures, this version celebrates dense coils rather than stretching them out.
Cut completely dry, in twist-out or wash-and-go state, never wet. The shape follows the natural pattern of your coils.
Maintain with Mielle Pomegranate and Honey Leave-In on wash days, then refresh with water and the same product in between.
The cut should look like sculpture, not like hair fighting to stay put against itself.
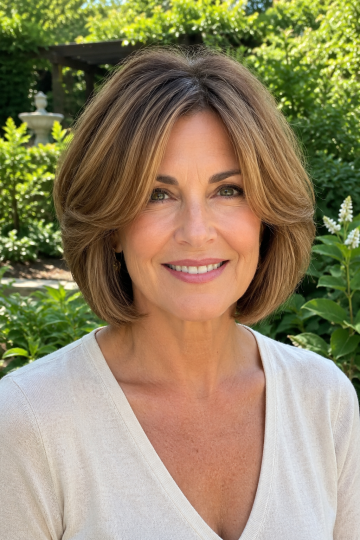
Curly Pixie With Long Side Pieces
The bulk of the cut is pixie-length, but two longer sections at the front fall past the chin.
Think of these as decorative, framing the face on either side of the part. They give the option to tuck behind the ear or let them fall forward at will.
This is a great in-between for anyone not quite ready to commit to a fully short cut. It also photographs beautifully from every angle.
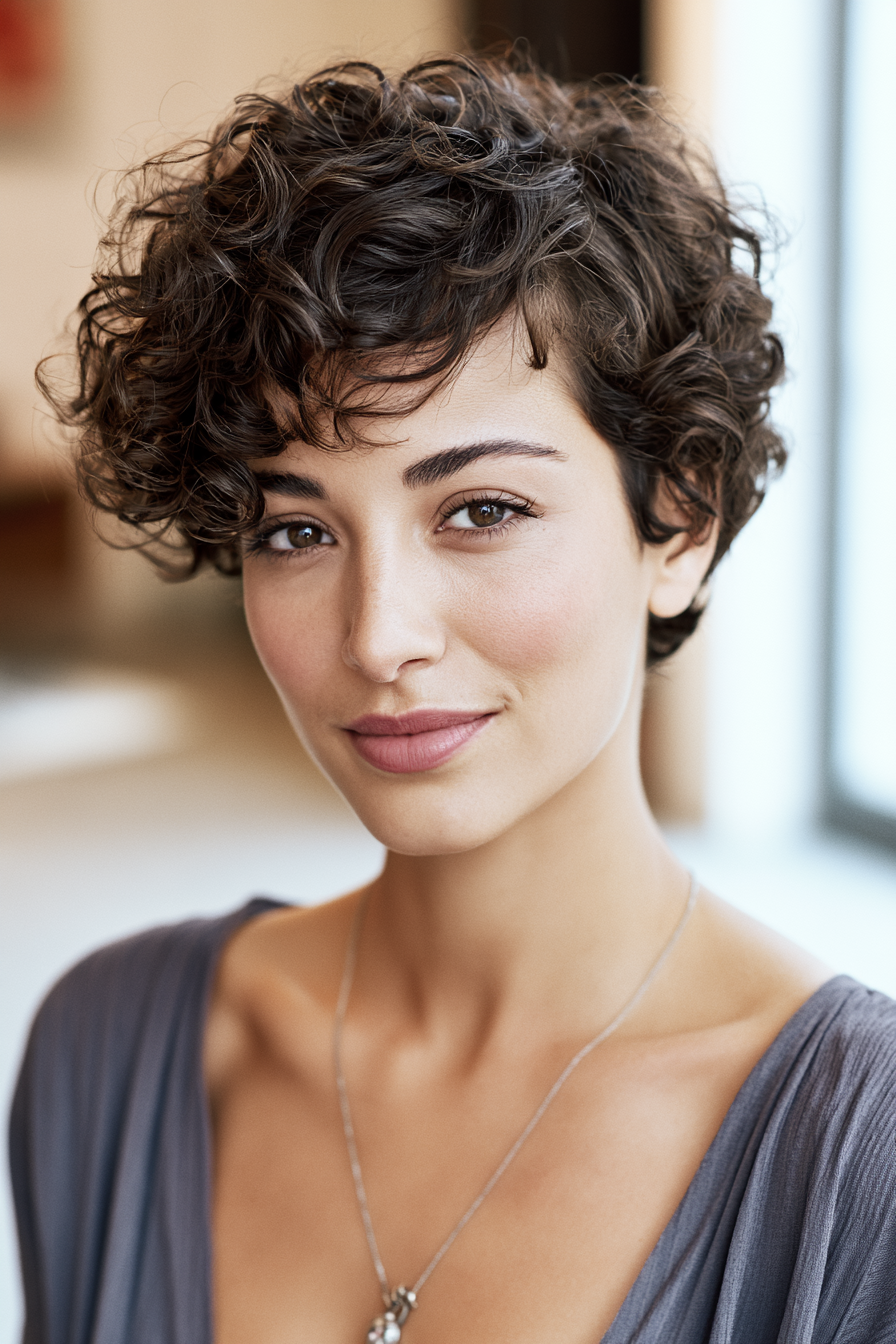
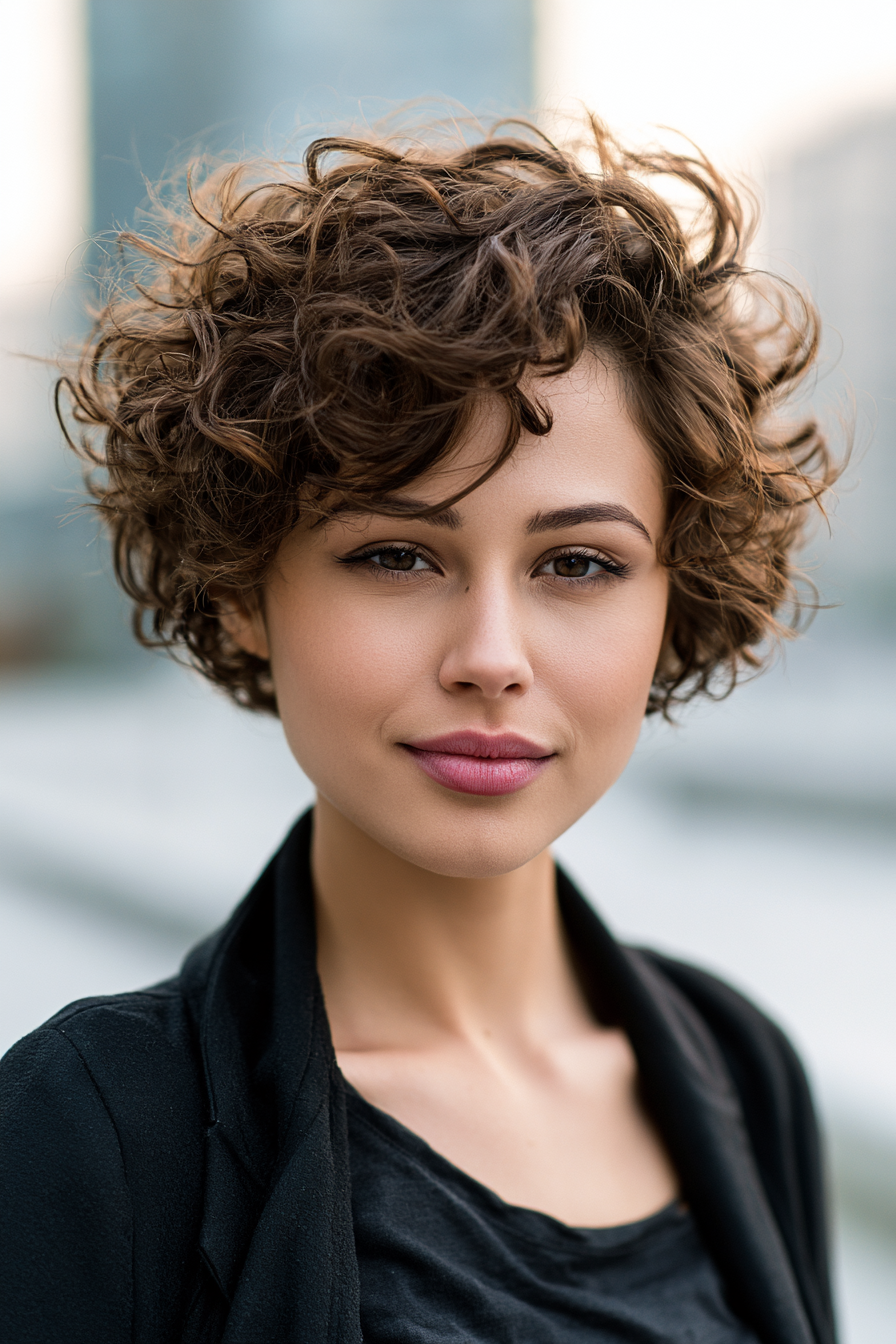
Soft Layered Curly Pixie
Internal layers cut to release the curl pattern without removing density.
Ask for layers cut on the curl, meaning each curl is cut at its end point rather than across a wet stretched section.
This is what separates a good curly cut from a generic one. The result has movement and bounce without losing fullness.
A small amount of Briogeo Curl Charisma Gel sets the shape after a quick scrunch.
Curly Pixie With Pompadour
The front is styled up and back into a soft curly pompadour, with the sides kept close.
This requires enough length at the top to create the lift, roughly three to four inches of curl.
Use a strong-hold gel like Eco Style Olive Oil Styling Gel at the front, then pin in place until set.
This version reads vintage and modern at once. It works particularly well on 3B and 3C textures.
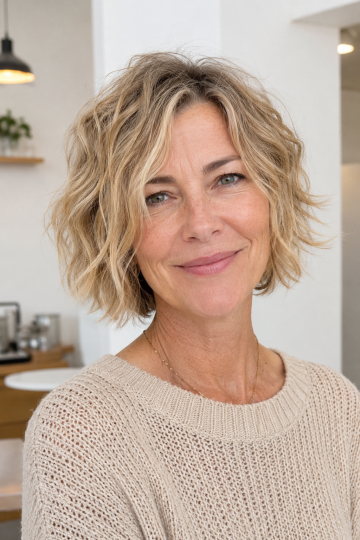
Wavy Pixie
For 2A and 2B textures, this is the curly pixie that doesn't quite curl.
The cut should encourage the natural bend rather than expecting full ringlets to form.
Ask for soft internal texturizing to give the waves somewhere to move. A spritz of sea salt spray on damp hair, then air-dry, is enough styling.
This is the most forgiving curly pixie variation and the easiest to live with day-to-day.
Curly Pixie With Highlights
Face-framing highlights painted around the curls at the front pieces add dimension without flattening the texture.
Ask for balayage placed on the curl, with the lightest pieces sitting where the curl springs forward at the face.
Use a sulfate-free purple shampoo like Verb Purple Shampoo every ten days to keep warmth balanced between salon visits.
The highlights should look like sun caught the front of your hair, not like stripes.
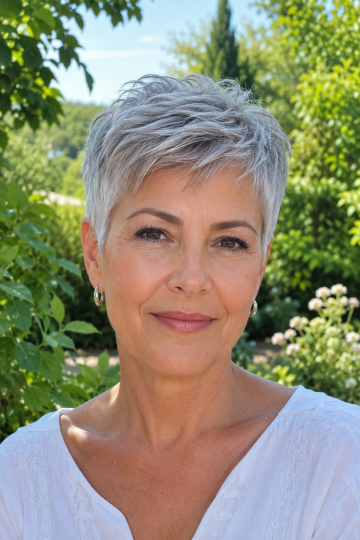
Sculpted Pixie Cut
Cut to sit very close to the head with each section shaped intentionally, almost like a finger wave updated for natural texture.
Ask for definition cut into the perimeter to create a clean line against the skin.
This is the dressed-up curly pixie, suited to anyone who wants their cut to feel finished without straightening it down.
Maintain the shape with a four-week trim schedule. The precision is the point of this version.
Curly Pixie With Fade
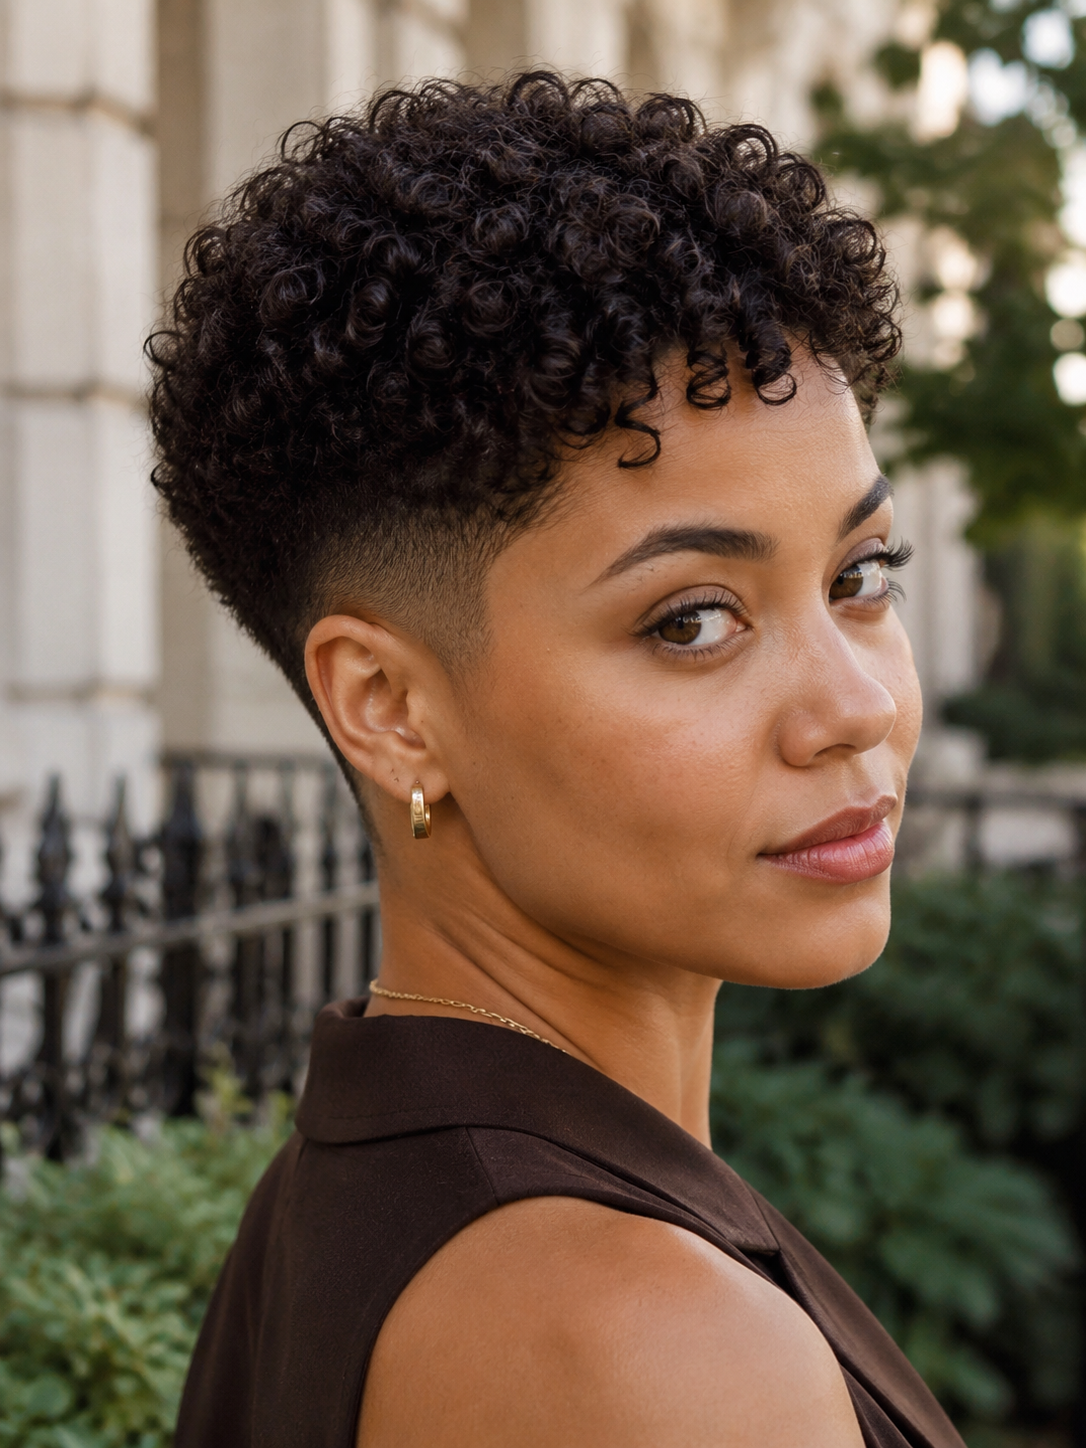
Cleaner and more modern than an undercut, the fade graduates from skin at the nape up to full curl at the top.
Ask for a mid or low fade, not a high fade, to keep the proportion soft. This version reads tailored and intentional, particularly on 3C and 4A textures.
The top should sit high enough to show off the curl pattern fully. Refresh the fade every two to three weeks for crisp lines.
Voluminous Curly Pixie
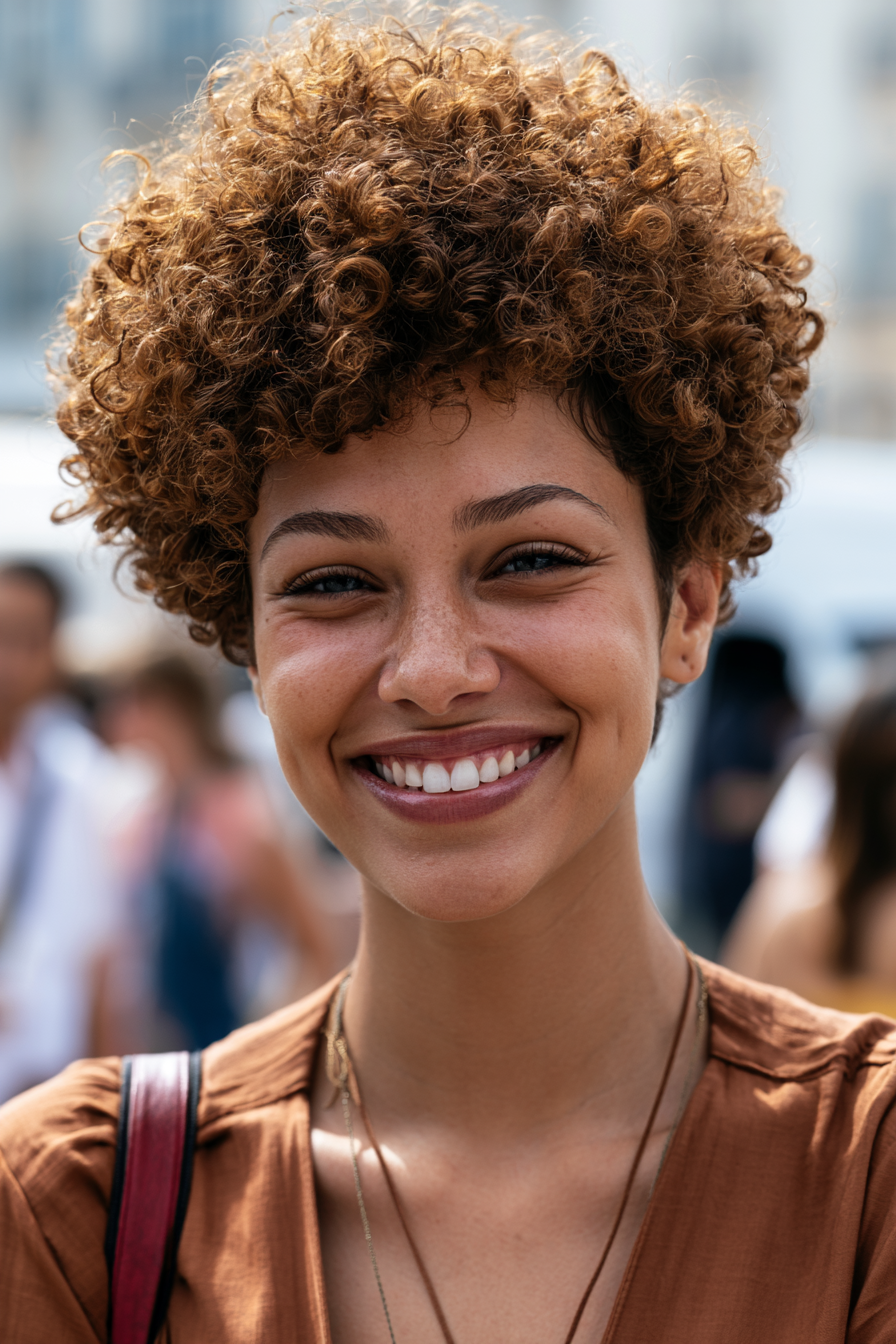
Kept slightly longer overall, with the focus on building maximum height and width.
Ask for the cut to be done with the curls in their fullest state, no stretching. Diffuse with the head tilted to one side, then the other, to encourage volume in all directions.
A finishing mist of Ouidad Advanced Climate Control Heat and Humidity Gel locks the shape against frizz. This is the big curly pixie energy version.
Curly Pixie With Micro Bangs
Very short bangs cut high on the forehead, about an inch above the brow line.
The bangs sit above the curl pattern, almost like a separate design element. This is a strong style choice that suits angular faces particularly well.
Cut the bangs dry, after the rest of the cut is finished, to account for spring-up.
They require a trim every two weeks to hold the right proportion.
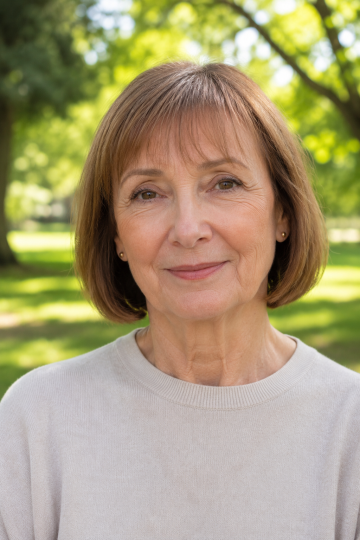
Pixie Bob Hybrid
Slightly longer than a traditional pixie, with weight kept around the ear line. Also called a bixie in current salon language.
This is the cut for anyone who loves the pixie idea but wants a touch more length to play with daily.
Ask for a graduated shape, shorter at the nape and slightly longer at the front.
It styles like a pixie but pins back like a bob on second-day hair.
Curly Pixie With Wet Look
Styled with a heavier gel application to create a sleek, defined wet finish.
Use a strong gel like Aunt Jackie's Don't Shrink Flaxseed Curling Gel on soaking wet hair, then air-dry without touching it.
The cast stays, which is the whole point. This works for events, photos, or any time you want the cut to read polished rather than relaxed.
It also protects against humidity better than any other styling method.
Layered Curly Pixie With Side Part
A defined deep side part gives this version its character, with internal layers letting the curls fall to one side.
Ask your stylist to cut with the part in place rather than down the middle, so the layering supports the asymmetry properly.
Style with a leave-in conditioner pressed in, not raked, to preserve curl clumping.
This is a particularly flattering version for round and square face shapes.